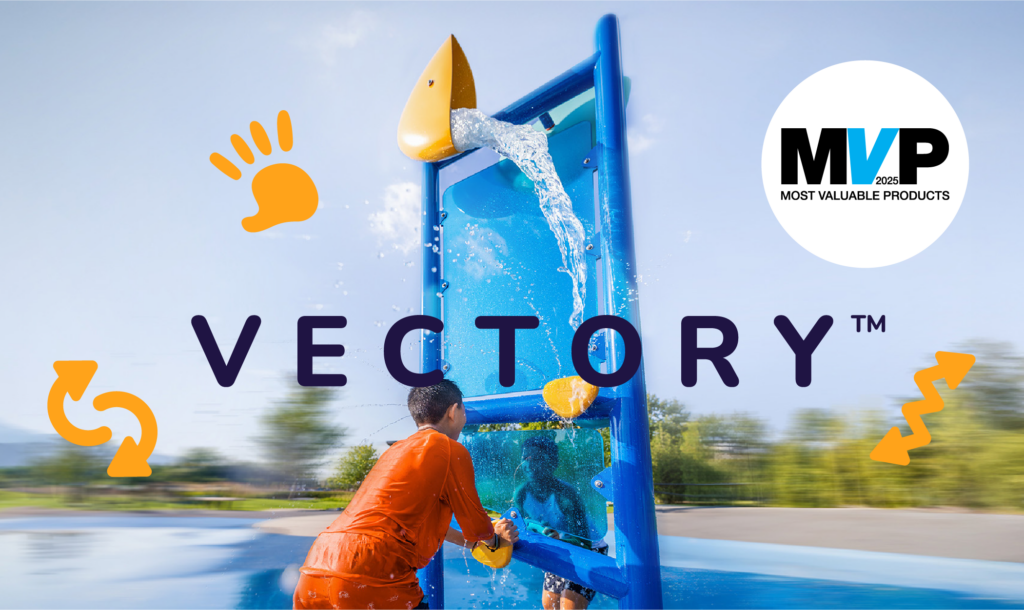
Readying for the Warm Weather: Your Springtime Checklist

At Vortex, we want to ensure that your Splashpad® is ready to welcome the warm weather ahead. And while getting everything up and running is by no means a major undertaking, the process nevertheless requires smart planning and basic know-how. To walk you through it, this post covers a few of the essential steps. We’ve even provided a checklist at the end of the article to make things as easy as possible!
Hiring a Pro
Step one, as always, is ensuring you have a trained professional at your disposal. Again, setting up your Splashpad® isn’t rocket science but it does require a qualified expert who can assess ware and inform you of potential issues in the months to come. Remember, unlike shutting everything down for the winter, getting everything back on track for spring requires a greater degree of inspection.
Cleaning Up
Of course, cleaning procedures will depend on the type of water management system your Splashpad® uses. For instance, a recirculation system will require drains, filters and the holding tank itself to be cleaned. In the case of a flow-through system, a dirty diaphragm can often lead to low water pressure, so be sure to inspect it.
Hopefully, hard water deposits and surface deficiencies were already taken care when you shut down for the winter. It’s important to do so every season in order to maintain the integrity of your gear. To help with the longevity of your products, we also recommend applying a coat of automotive wax to everything.
Inspecting
When you’re cleaning the pump and Y strainer baskets, check if the mesh needs replacing. You’ll also want to inspect feature hardware. Review all static and rotational joints for worn parts and ensure everything is well greased. Similar precautions should be taken with your Elevations™ structures: thoroughly inspect all netting, zippers and locks.
Getting Things Running
Safety first—before running anything, ensure your flow switches, alarms and all other safety mechanisms are working properly.
Next step is managing debris that accumulated during the thaw. On flush-mounted features, replace your winter caps with spray caps. For other features such as water jets, rotate the directional spray nozzles to the open position.
Regarding the water management system, check that the the coil on each solenoid valve is in the off position for automated operation. It’s now time to turn on the main valve and check for leaks. Ensure the static pressure in the manifold is 30psi.
Provided all your chemical reservoirs have been cleaned and probes installed, it’s time to flush your lines. Do so by running features individually, either manually or from your controller. If everything runs smoothly, you’re good to go!
We’ve Got You Covered With these Checklists
Even when you’re working with a trained professional, it’s good to keep track of the to-dos. Our thorough cheat sheets covers all the necessary steps to properly prepare your water management system, play features and Elevations™ structure.
Again, being ready for spring doesn’t require weeks of prep but rather, a smart action plan and a pro who knows his or her way around your system. Of course, if you’re unsure of anything, don’t hesitate to give one of Vortex’s experts a call—we’re always available to lend a hand!